Fairy wings tutorial

Do you know a girl who dreams of becoming a fairy or an elf? Or maybe a winged princess? Well look no more because I’ve got the tutorial just for you. Made from the wonderful Kismet fabric collection from Art Gallery Fabrics, these gorgeous wings will join to children’s costumes and become a sure favourite for years.

Third and final in my Fairy Set designed for Simply Sewing magazine, the fairy wings are a beautiful addition to any princess or fairy dress. They are big and voluminous and will keep for years as your child grows.
Strengthened with metal boning, these wings hold up nicely but also flap in the wind. My daughter loves putting them on and running around while waving her wand.
Make them in beautiful fabric like this Art Gallery Fabric and turn your children’s costumes into heirloom pieces that they children will cherish too. These wings take a bit of time to make but they’re so worth it. Follow the instructions to recreate the exact model or go wild with your own piecing or embroidery.


To make the wand
You will need:
Get your Fairy Set free pattern
3/4m of main fabric
1/4m of contrasting fabric x3
½ m of 5mm foam interfacing
80cm of 2cm wide elastic
1m of metal boning + 4 caps
Instructions:
First of all, we are going to decorate our wings. The indications are to replicate this pair of wings, but have fun with your fabric scraps and trimmings to create your own!
For the circle appliqué, use the dotted line on the circle template and cut it on a heavy card such as a box of cereals. This will help you press a clean circle shape. Cut two circles in the fabric and sew around the edge by hand with a long straight stitch. Then place the card in the middle of the fabric piece and pull your thread. This will gather the edge over the card and fold your seam allowance inside. Press your circle, then remove the card and do the same with the other piece.


Place the circle appliqué following the pattern placement and pin in place. Make sure that you pick two mirrored wings! Sew around the edge with a small zig-zag stitch.

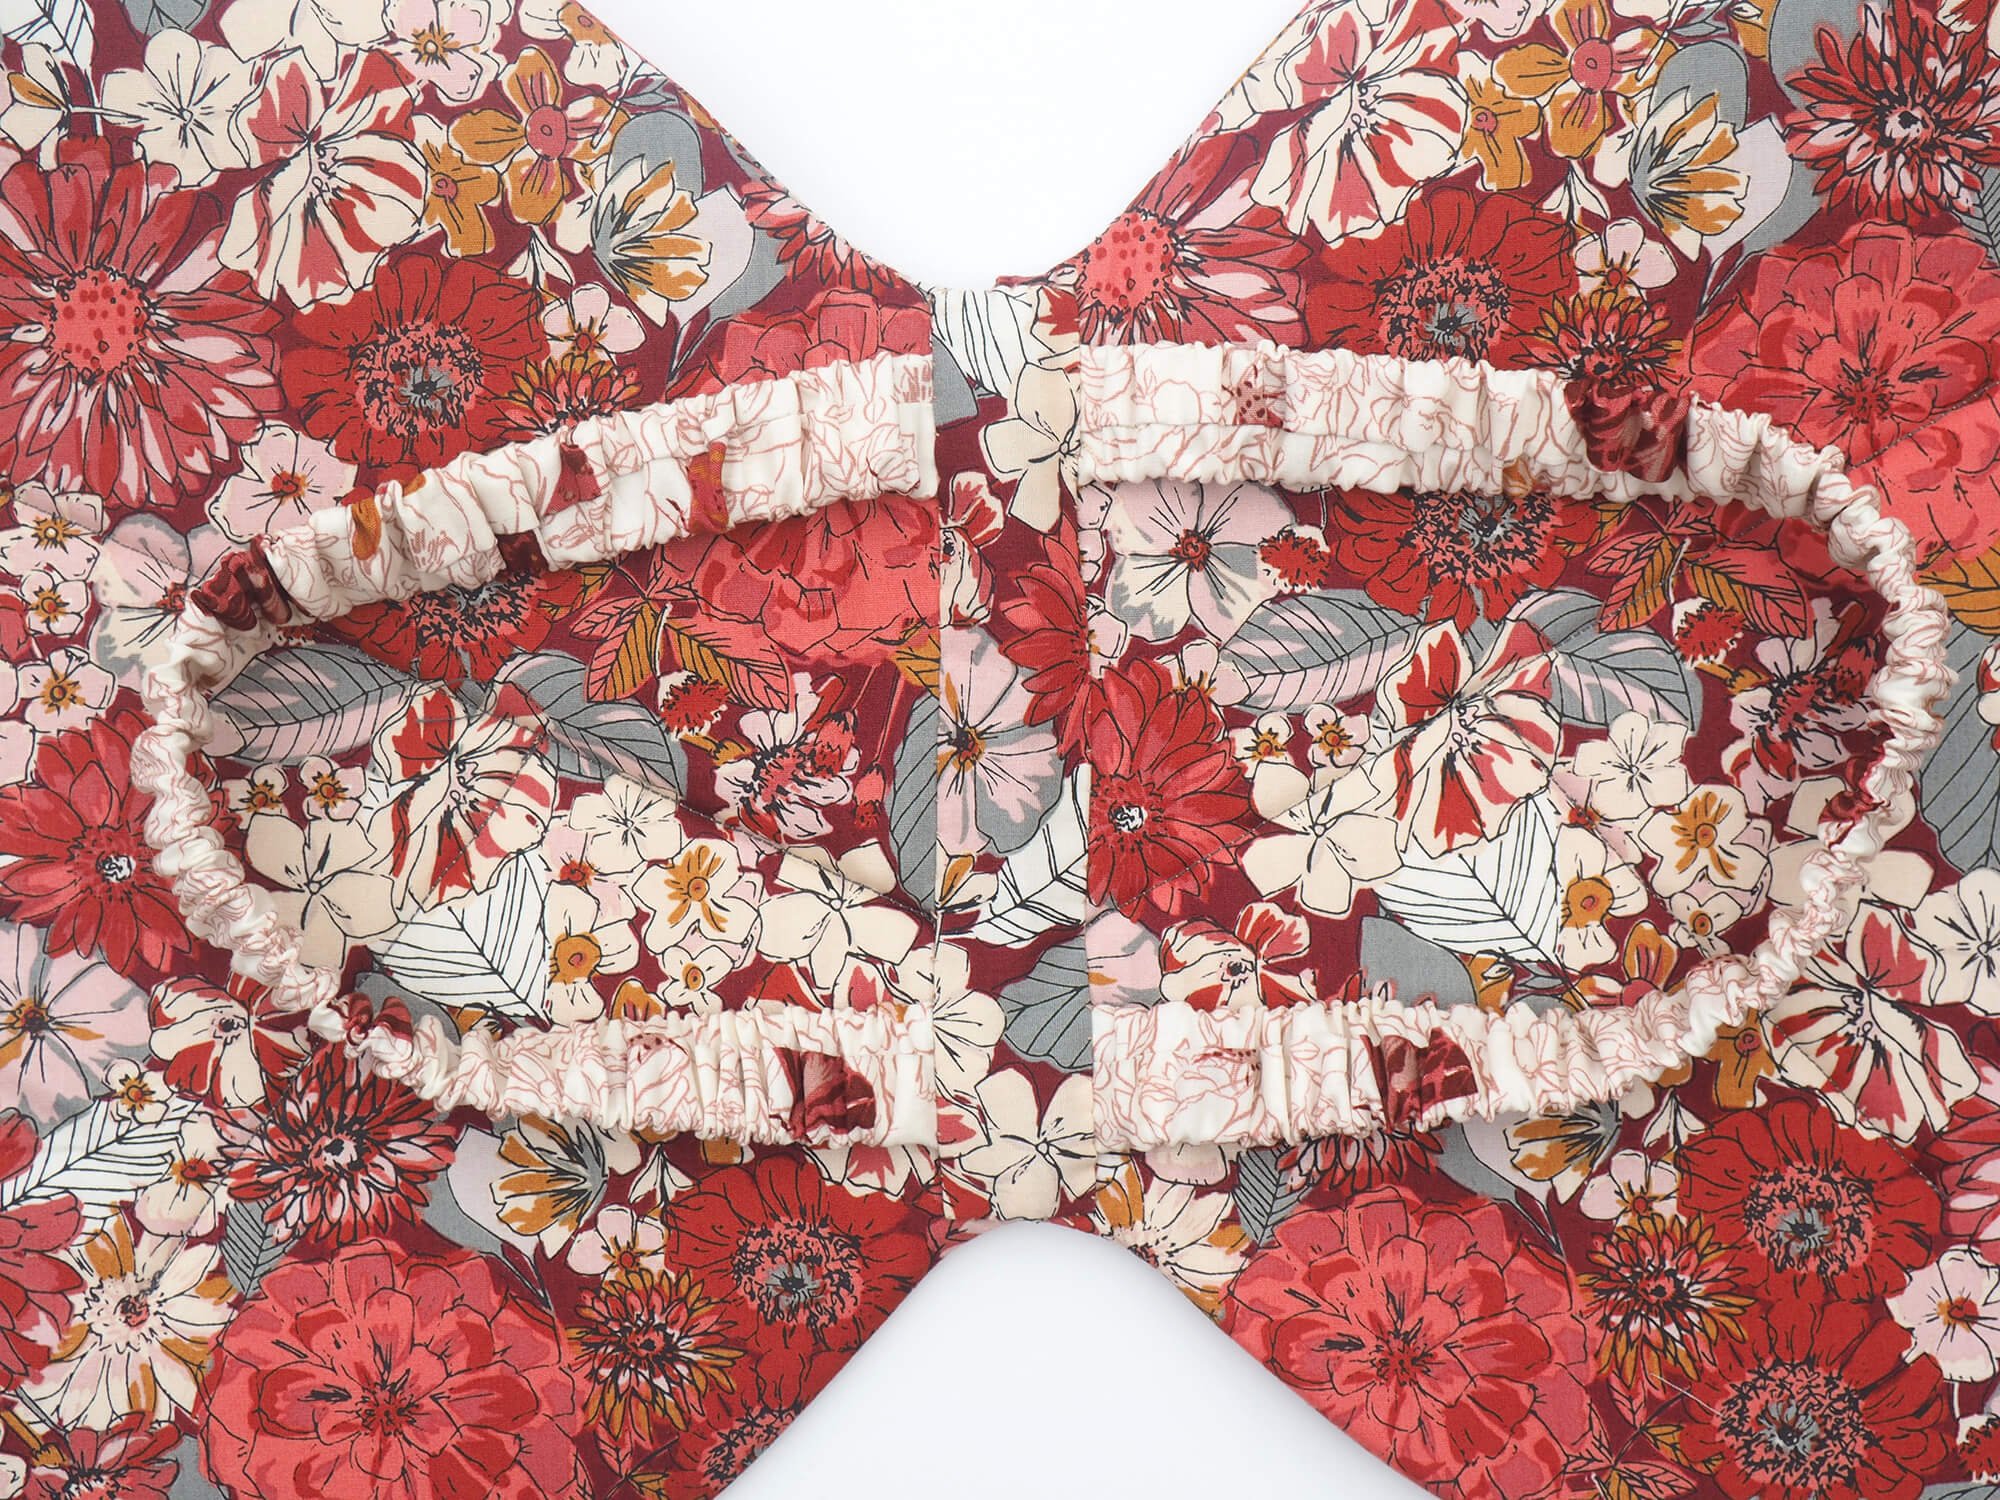
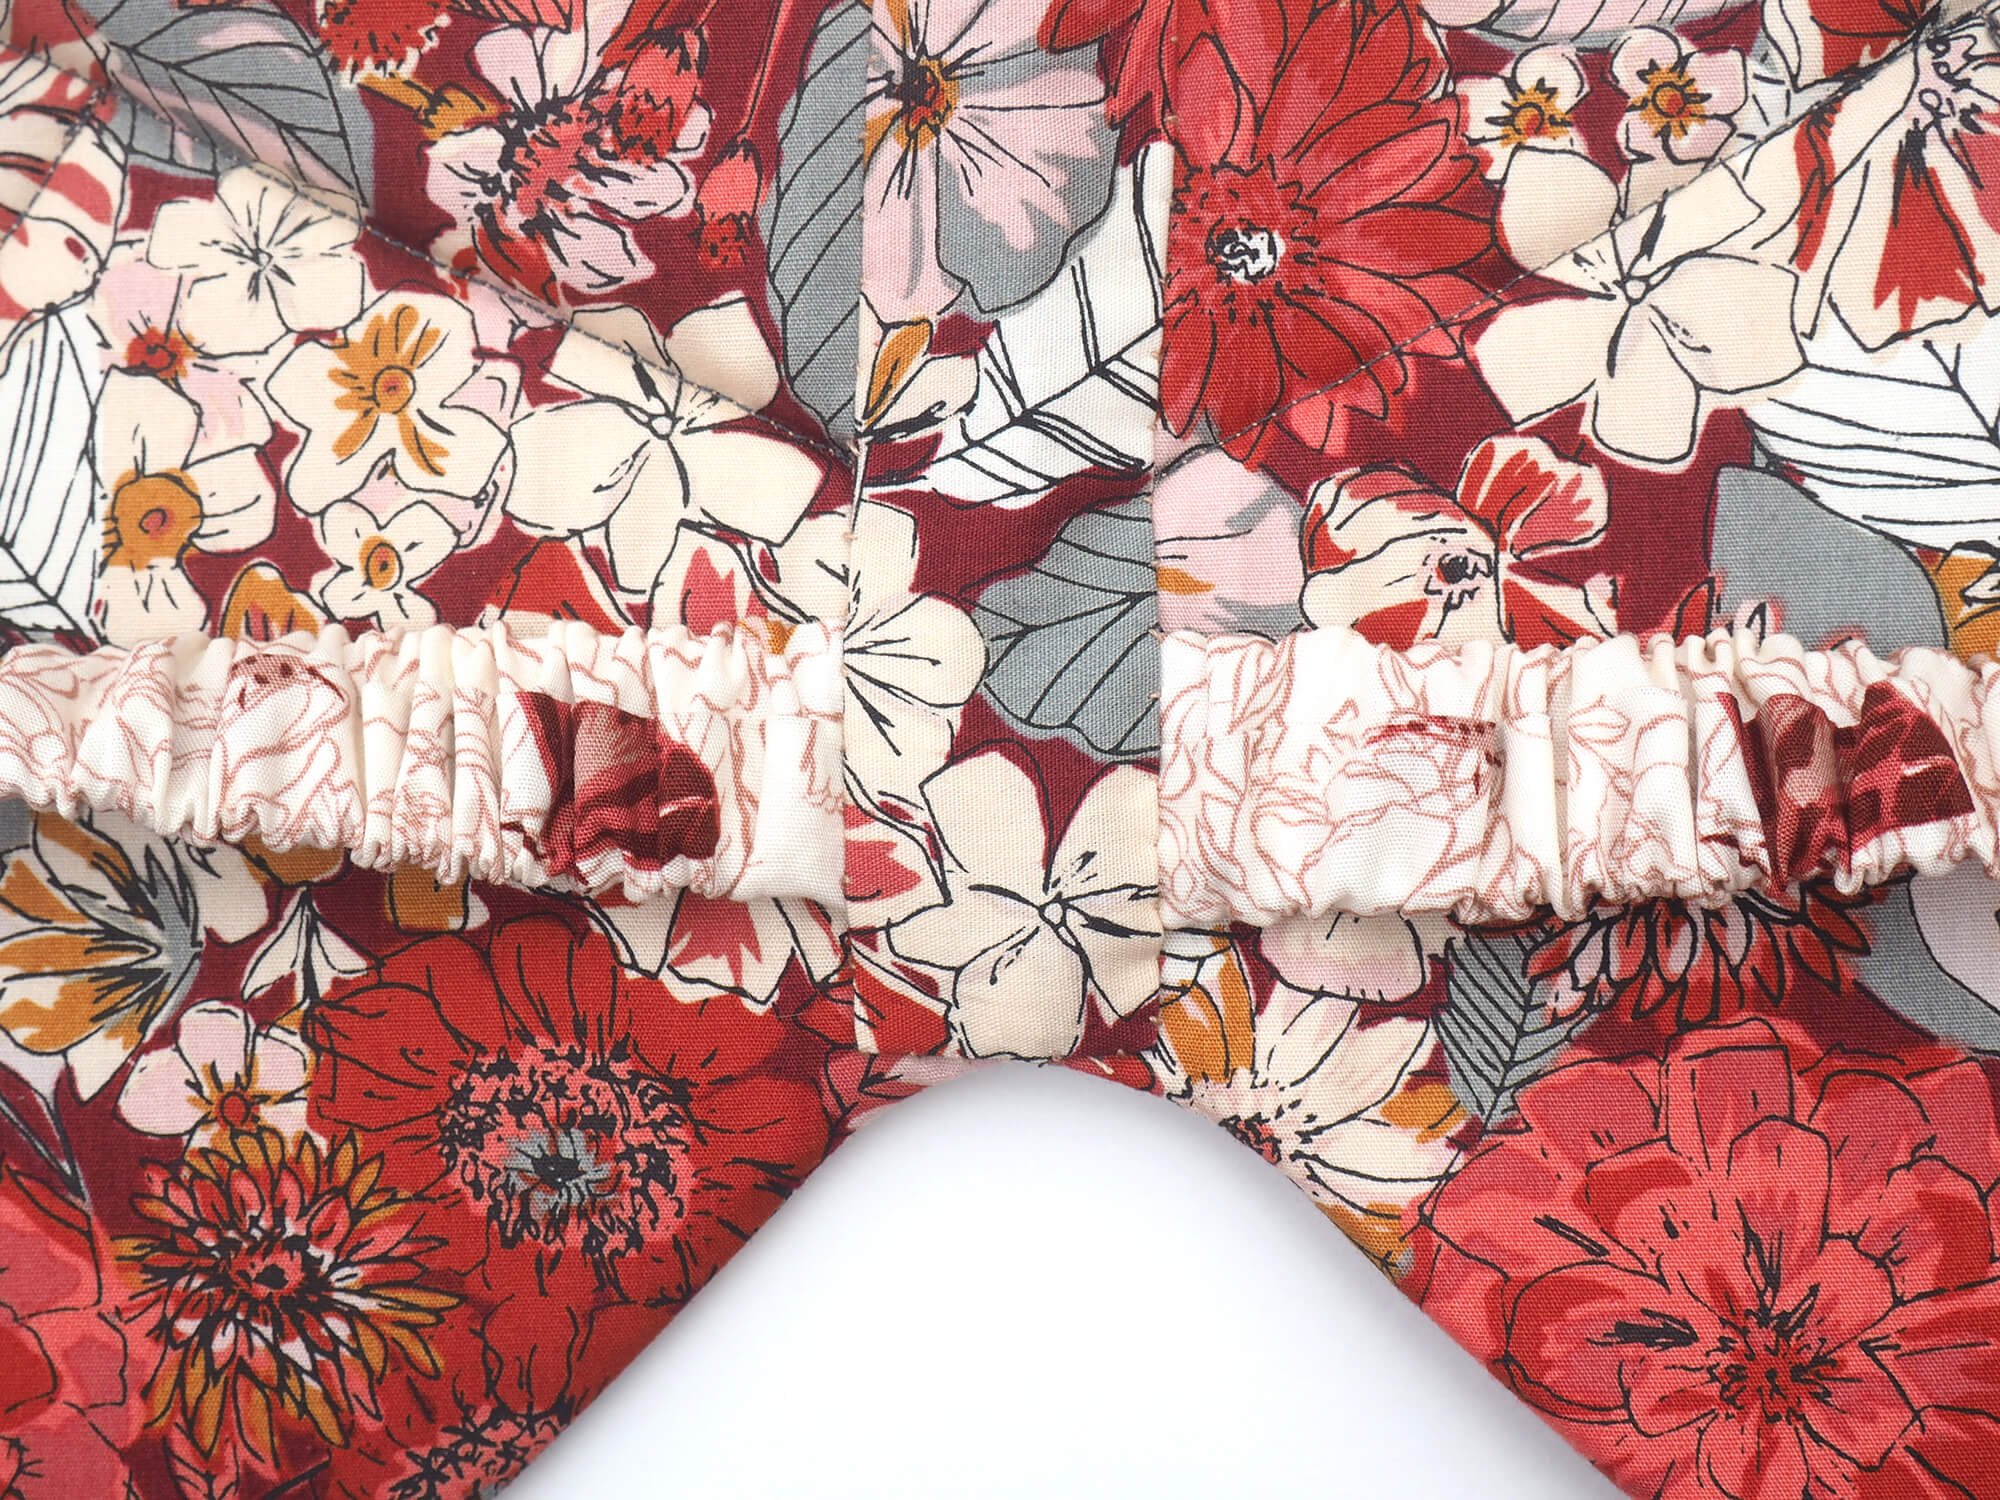
Our wings are reinforced with metal boning to make them stand better. We need to create the channel to fit them onto the wings. Cut 2 strips 4cmx40cm long from your contrasting fabric and press 1cm towards the inside on each length to get a 2cm wide strip.
Follow the pattern guide to mark the placement and pin the strips in place on both wings, right sides up. Sew close the edge on both sides of the strips. Trim the excess.

If using piping, place it just over the previous stitches and pin it in place. Sew using a piping foot. If you don’t have one, you can use your zipper foot too. Trim the excess.

Cut 2 strips 8cmx40cm long from your contrasting fabric and press 1cm towards the inside on each length to get a 2cm wide strip.
Follow the pattern guide to mark the placement and pin the strips in place on both wings, right sides up. Sew close the edge on both sides of the strips. Trim the excess.

Take one appliqué wing and one lining piece and pin them with right sides together. Sew around the curve of the wing with 1cm seam allowance, leaving the centre line open. Repeat with the other wing.

Trim the seam allowance by half, clip the inside curve. Turn your wings right side out.

Cut 2 foam wings using the dotted pattern piece and fit them inside your fabric wings.
Using your pattern piece as a guide, mark the lines for topstitching and sew.

Measure the length of your channel for the boning minus 2cm and cut 2 pieces. Place the rubber caps on each end and fit inside the channels. Push them as far as you can to make sure that the machine won’t catch them.
Take both wings with the appliqué sides together and sew the centre line with a 1cm seam allowance, taking care not to catch the boning. Trim the seam allowance by half.

Cut a 7cm by WOF piece from a contrasting fabric and fold in half lengthwise, right sides in. Sew the long edge with the 1cm seam allowance and turn to outside. Press. Mark the middle.


Feed the elastic inside the strip until both ends are out. Sew the edges together, laying the fabric flat in between.

Now place the sewn edge along the centre of the wings, 1cm away from the bottom. Using the mark previously made, place the middle of the strap 1cm from the top. Stitch along the centre seam.

Cut a 5cmx17cm strip in the wings fabric and press 1cm in on all edges. Pin this piece over the centre of the inside wing, covering the open edges. Sew by hand around the edge with an invisible stitch.
You’re done!
Don’t forget to share your makes by tagging us #pompomdumonde!